Pinterest Pixel

Interior Door Projects-DIY Your Way to Rustic or Classic Charm

DIY interior door projects mean that your interior doors don't have to be boring. Learn how to reuse existing doors inside your home or make them out of wood for a rustic look.


farmhouse half door


Your interior doors present a great opportunity for customization and play. A DIY interior door project begins with an assessment of one's tastes and opportunities -- not every style found below will suit you or your home. Scroll down for inspiration and to find out how to make interior doors and how to make plank doors for your home.


Color Washing Dutch Barn Doors

Dutch barn doors are stable style doors, half doors or split doors that feature horizontal cross buck slats and wood fill and can be made pre-hung for standard size entrances with the swing you need or custom designed to fit a certain size opening.

Dutch style doors not only look great, but are highly functional as well. They can serve by keeping babies or dogs safe while at the same time providing ventilation to other areas of your home.

This neat and whimsical rustic project comes courtesy of Remodelholics.com and transports the outside charm of a an old barn into your living room. Its actually a basement door, but you wouldn't know it by looking at it.

color washed dutch brown door

Its okay to fool the eye by adding a little mystery to the interior doors of your home. The quintessential traits of natural wood and custom styled hardware lend a unique perspective on your otherwise run of the mill entry doors.

color washing paint tutorial

This project even goes a step further by using a color washing paint technique to add some color, depth and a welcoming warmth to the space.

Add a classic and finishing touch by adorning a stair riser with your address numbers.

For this paint technique, a dry brush is used to apply the paint onto only the top layer of the wood to add a light layer of color and then wiped off with a wet washcloth that's lightly dampened with very little paint from the paint lid.


Make Your Own Sliding Barn Door

Websites like Pinterest are full of great idea's and home DIY inspirations and if you don't want to spend $400 to buy a prehung interior barn door then why not make your own? There's no need to be intimidated, if your the least bit handy all it requires is a tough drill, angle grinder with a steel cutting disk, a circular saw and some patience.


simple plank door

Making a simple plank door is not hard and is relatively inexpensive. You'll need exterior tongue and groove board that is normally used for house siding. The best part about using plank boards is that they are pretty lightweight. Who needs a 400 pound door in their laundry room for heavens sake?

These plank boards then get adhered together using a generous amount of wood glue and held together with ratcheting straps. After the plank boards are dry, you will want to apply vertical crossboard strips to help brace the door and make it more sturdy before installing it.

You can then stain the door to your specified color preferences.


installed pulley and solid steal bar
sliding barn door


At this point you are ready to hang your plank door that was made with love and tender care. You will need to purchase some hardware now in order to proceed onto the installation portion.

To get started, purchase 2-2.5” pulleys and a 1.5” solid steel bar. These should be available at most local hardware stores. The idea is to form a bracket where you can attach both pulley wheels.

These bar brackets then get put on top of the door. The door is then lifted up and placed onto the tracking to make it operational and slide friendly!

Voilà! What used to be a messy laundry shelf cabinet is now covered by a beautifully handcrafted and stained sliding barn door and you'll have the satisfaction of knowing how much it really cost.


Making Use of What You Have-Refurbishing Those Boring White Slab Doors

If you've always liked the clean look of European classy doors and your tired of looking at those old white hollow slab doors, then its time to do something about them.

Kelty from The Urban Squirrel finished this project in no time flat. It's not as difficult as you may think and you won't even have to use a single nail to attach the four panels.


before and after or refurbished door

[Before and After of Finished Product]

You'll need 16 pieces of trim (cut at a 45 degree angle), a mitre box, Professional grade construction adhesive (dries in 10 minutes), a sanding block and black acrylic high gloss latex paint.

Once you've measured and arranged your panels, adhere them to the door with the caulking adhesive and let dry for at least 10 minutes. You might want to place some heavy objects on top of the panels in order to get a really tight seal.
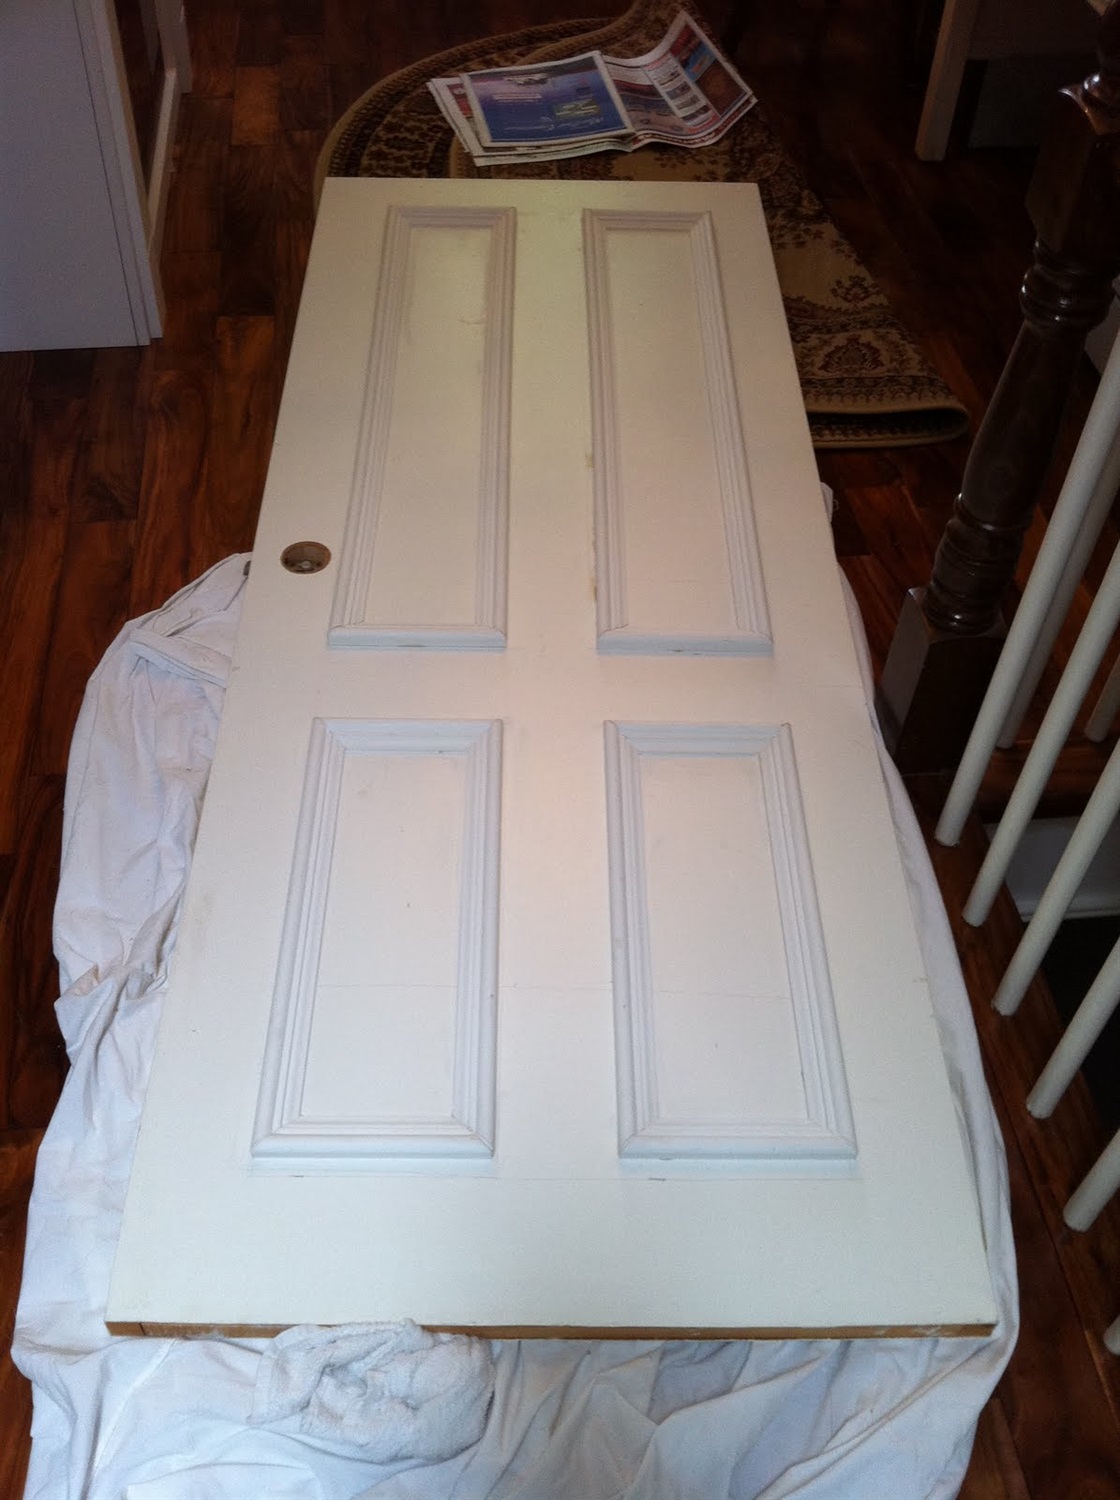
glued wooden panels

After the panels are dry, use a sanding block to lightly sand the surface of the door. This ensures that the glossy paint will have a good surface to adhere to and you won't get as many brush marks.

Consider adding classy hardware such as this throwback Madison door knob by Emtek.

All in all, this project shouldn't cost you more than $40.00 to complete and you'll be uber impressed when you see the end result.

Cheers to reusing and refurbishing ordinary items into something fabulous!